Spring Paint Projects

Though important and necessary, home maintenance priorities such as gutter cleaning, HVAC servicing and deck repairs can take the wind out of any DIYer’s sail. But don’t worry, there are a ton of budget (and TIME) friendly projects that you can start planning now, while it’s still chilly outside, and be ready just in time for Spring.
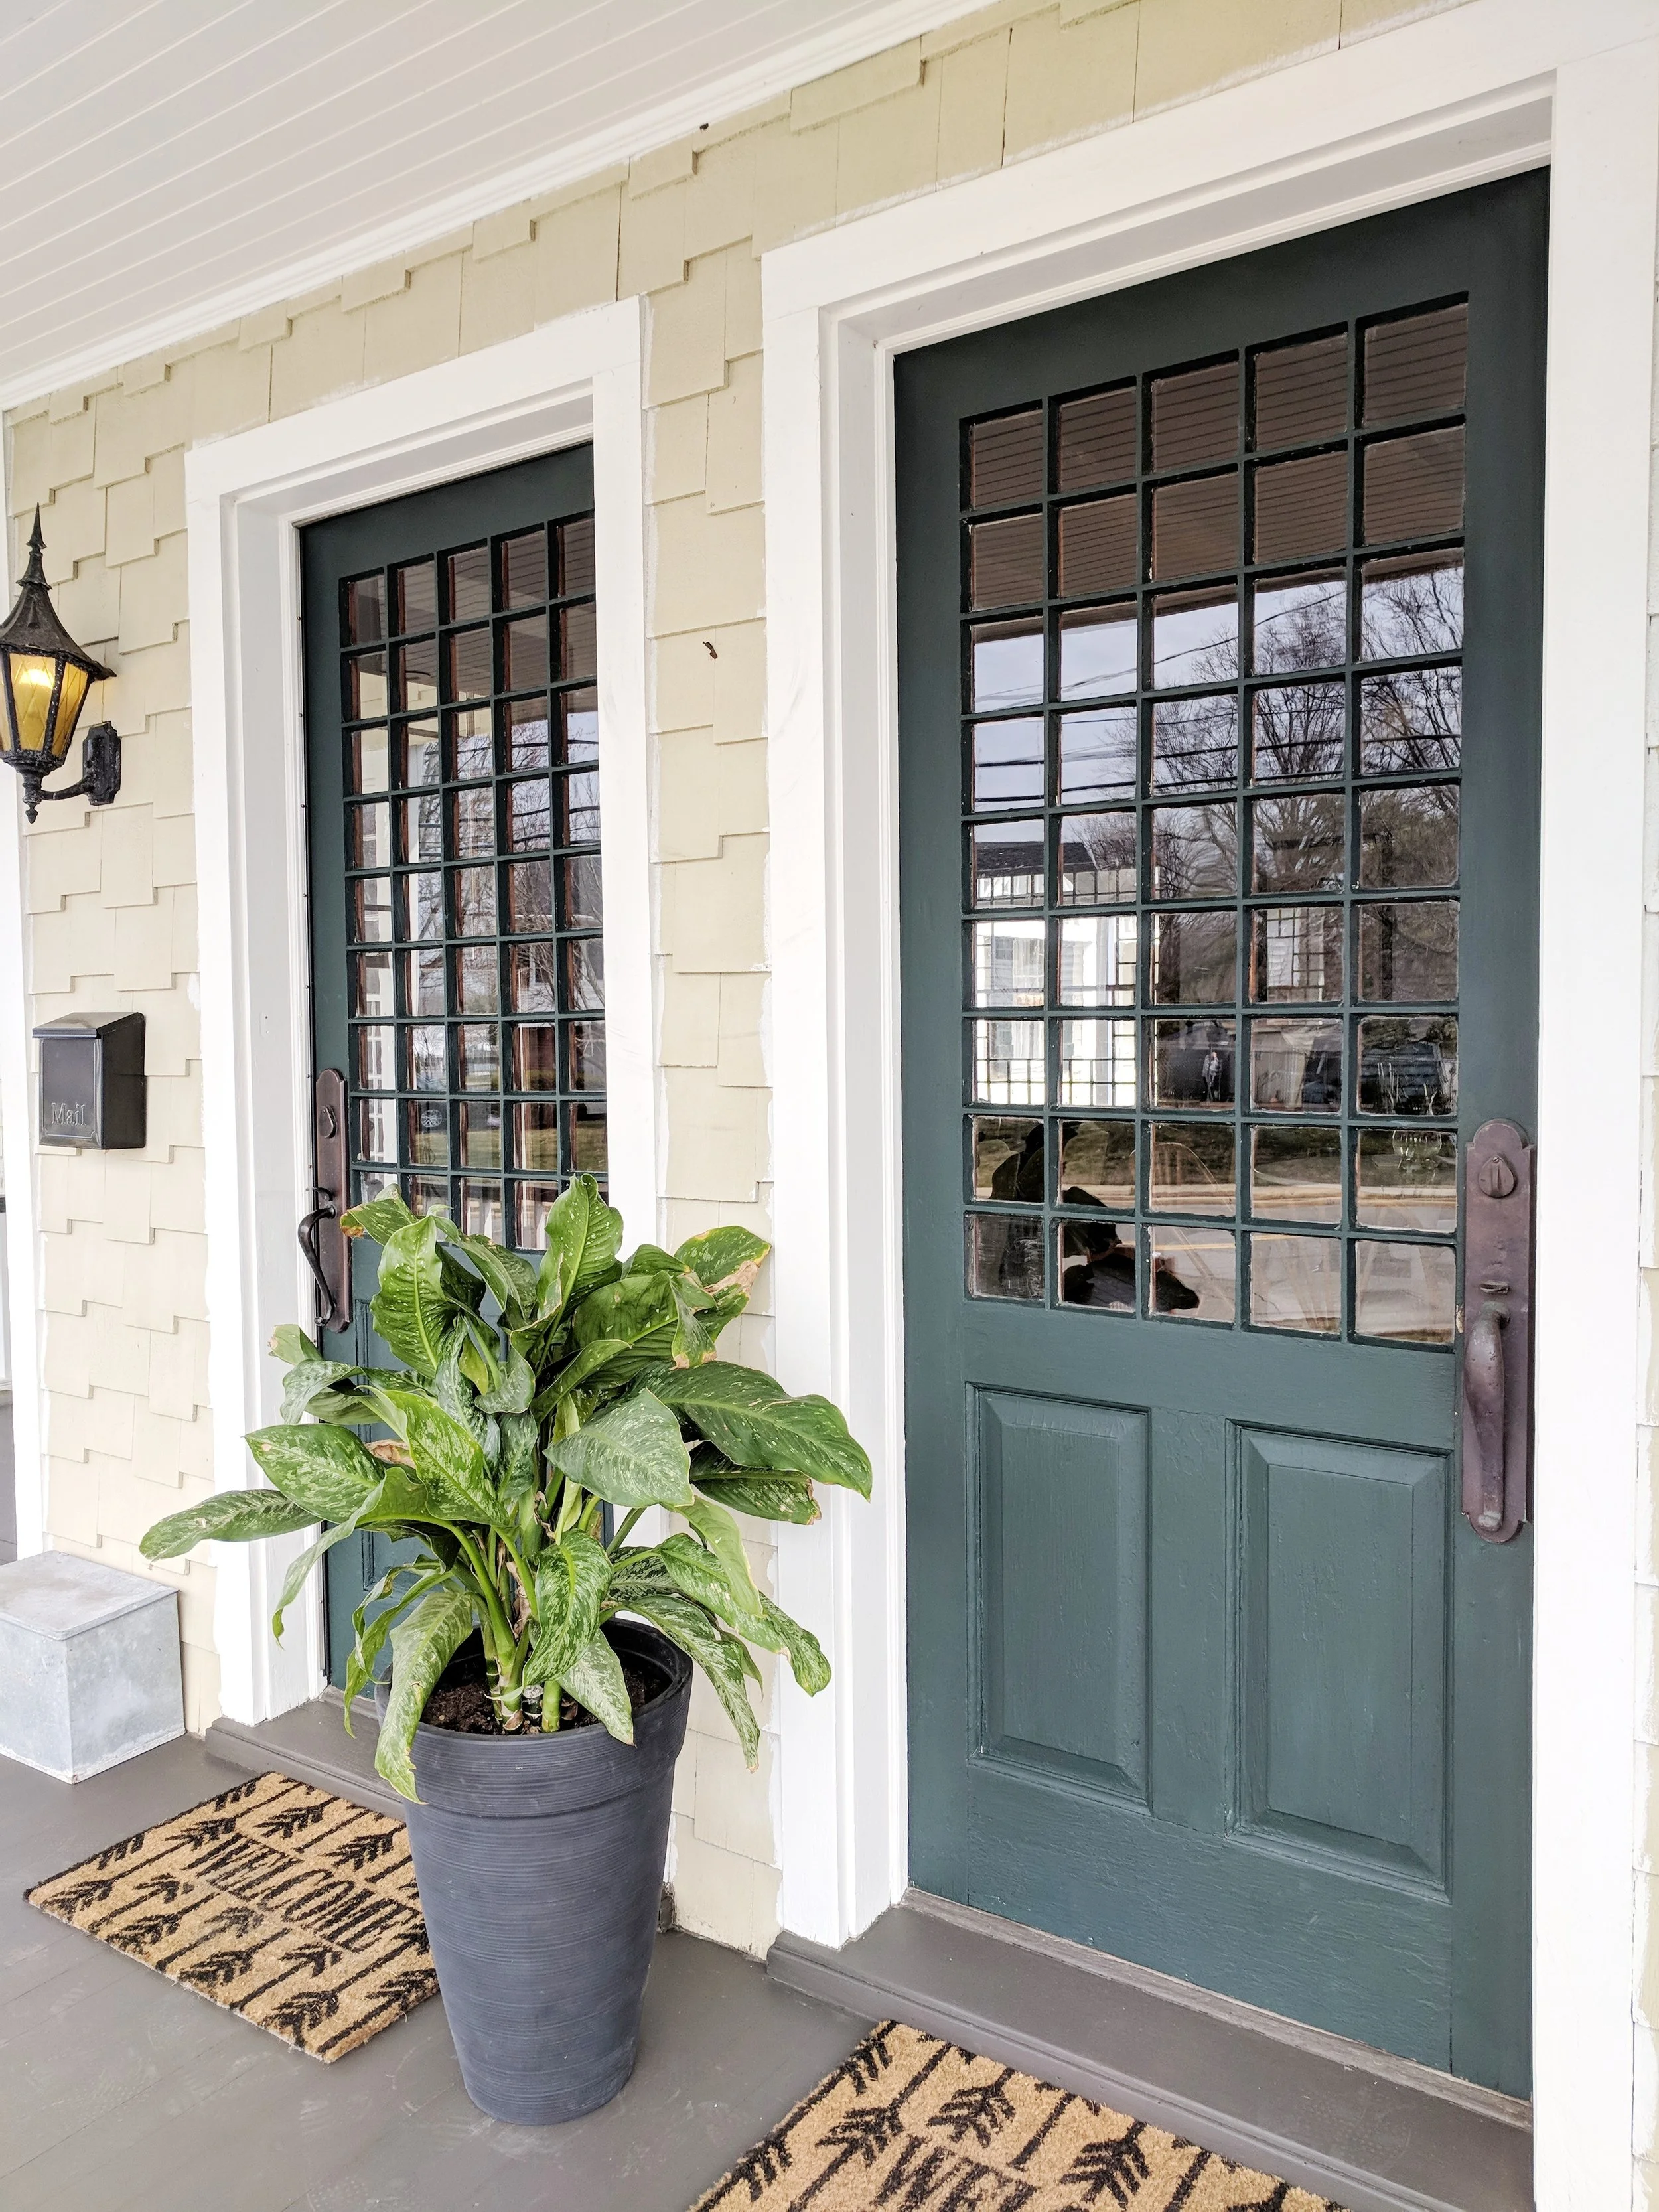
Read more

DIY: Customized Exterior Door Mats

DIY Customized Exterior Door Mats

While I daydream about sweeping up construction dust for the very last time (ha ha, yeah right), I've been doing a few DIY projects of my own. 

As we begin to organize and dig out our remaining boxed items, stored on the other side of the house, John and I realize, we have no way of differentiating all the other rooms we have yet to renovate.

In a regular house, identifying a room is done by location, but this is not a typical house. This is a once brothel, hacienda-style property, where all the rooms connect not only to one another, but to the center courtyard.

In a normal scenario, one would simply say, "down the hall, third door on the right." But at Content, which "hall" are you referring to? The interior hallway, or the exterior porch which each room can be accessed from.

What ends up happening is:

John: "Court, where's the box of camping supplies?"

Courtney: "In the first bedroom."

John: "First at the front or back of the house?"

Courtney: "At the front of the house. With the yellow paint. The one closest to the Great Room. You know which one I mean, right?"

John: "Never mind, I'll find it myself..."

It’s not a serious problem, of course, but an identification system was in order. 

As a full renovation of the west side of Content. will be on going for the next year (hoping to be completed by summer 2016!), we needed a simple identification system to run with. Then I remember our friend Megan. 

See, each year we do a DIY craft, holiday gift exchange among us girls. Each lady crafts a gift, and then we do a swap (ala white elephant rules) where you can steal gifts back and forth. It's stressful, and fun, and hysterical. Always a great time, I highly recommend you host one!

So, Megan crafted a coir entry mat, in which she'd created text on the mat reading "Hi" as you were entering the door, and "Bye" as you exited. (Megan, correct me if I have this wrong... I think that was Holiday Craft Swap 2012, so time and mimosas may have fogged my memory).

Anywho, it was adorable, and I always remembered it!

Fast forward to 2015, I'm at the store, and see these simple entry mats, and remember Megan's craft. I'm inspired and our new bedroom identification system is born. 

For you, this DIY project can translate in a number of ways. For one, it makes for a great gift (hi family, stop reading or spoiler alert, you're all getting door mats for Christmas this year) or a really easy way to personalize your own entry mat with your house number or witty saying.


DIY: Customized Entry Door Mats

Supplies:

Step 1: Source A Natural Fiber Mat

I purchased mine from Ikea on the CHEAP for $4.99 each. Truth be told, the Ikea mats are very thin, so you may want to find something a bit more substantial.  I easily found more online.

natural coir fiber entry mat.jpg

Coir Basic Doormat

SOURCING TIP:


The key is to find a coir mat, that is tight. Meaning the fiber is very sturdy and bound close together.

This will insure the painted stencil has a firm surface to adhere to.

Step 2: Set Your Stencils

Using your measuring tape, find the center of the mat and line your stencil(s) up according to the layout you would like to achieve. 

** Note: The stencils used in this DIY are 6". **

Easy to customize basic DIY door mat with spray paint and stencil

For my mats, I was only doing single digits, so honestly I eyeballed my measurements. However, to achieve a multi number arrangement, you may want to be more accurate arranging the stencils in advance or perhaps off setting the digits in a corner using the side of the mat as a starting edge.

Step 3: Mask the Area

With the stencils arranged, place masking tape fully around the stencils so they are affixed to the mat (or to each other) and can not slide; keeping all inner edges of the stencil exposed.

The making tape, on the exterior stencil edge, will begin to create a barrier for the spray paint from the rest of the mat.

To cover the remaining perimeter, use more tape or affix a few strips of paper (butcher, news, etc.) or cardboard fully covering the remaining exposed edges.

Place the whole mat on a drop cloth.

Easy to customize basic DIY door mat with spray paint and stencil

Step 4: Paint

With the spray paint can positioned parallel to the mat, use short, precise strokes 5" over the stencil. Try not to tilt the spray nozzle, as a top mist over the stencil will produce the best result.

Note here, it's less about getting the fibers saturated with pigment, and more about getting a clean sweep of paint across the stencil and around the edges.

Easy to customize basic DIY door mat with spray paint and stencil

Step 5: Set The Paint

Allow the paint to set for 10-15 minutes, then remove the stencil.

Step 6: Allow Paint To Dry

Allow paint to dry for a minimum of 24-48 hours before using or gifting. Though the paint will dry fast, allowing extra dry time will ensure no paint is tracked into the house.

Easy to customize basic DIY door mat with spray paint and stencil

Pretty manageable, right? Most of the work time of this project is prepping the surface. I will say though, I got lazy on #4, and did not mask off the perimeter fully.

I underestimated the range that the spray paint would span and you can see a dark haze around my number "4" mat.

Learn from my laziness. Make sure you don't skimp on Step 3! Cover the perimeter of the mat fully for best results.

From here, sky's is the limit. On my next attempt at this project, I plan to use different width painters tape to create striped perimeters around the outside edges.

Or, you can use specific paint colors to create a more personalized look that matches your decor.

What do you think, will you give this project a go? Share your thoughts below!

DIY: How to Strip Paint from 100 Year Old Doors & Brick

I've made several attempts with a number of different paint stripping agents. With anything old, the chance that lead based paint were used is high and proper precautions should always be taken.

Here’s my experience with 3 of those stripping agents: Soy Gel, StripEze and Peel Away

Read more